
Connect a service from the store
Install a connector, sign in or add a token, and test it - including Gmail.
Install a connector from the store, sign in or add its token, and test it - usually in under a minute.
Install a connector
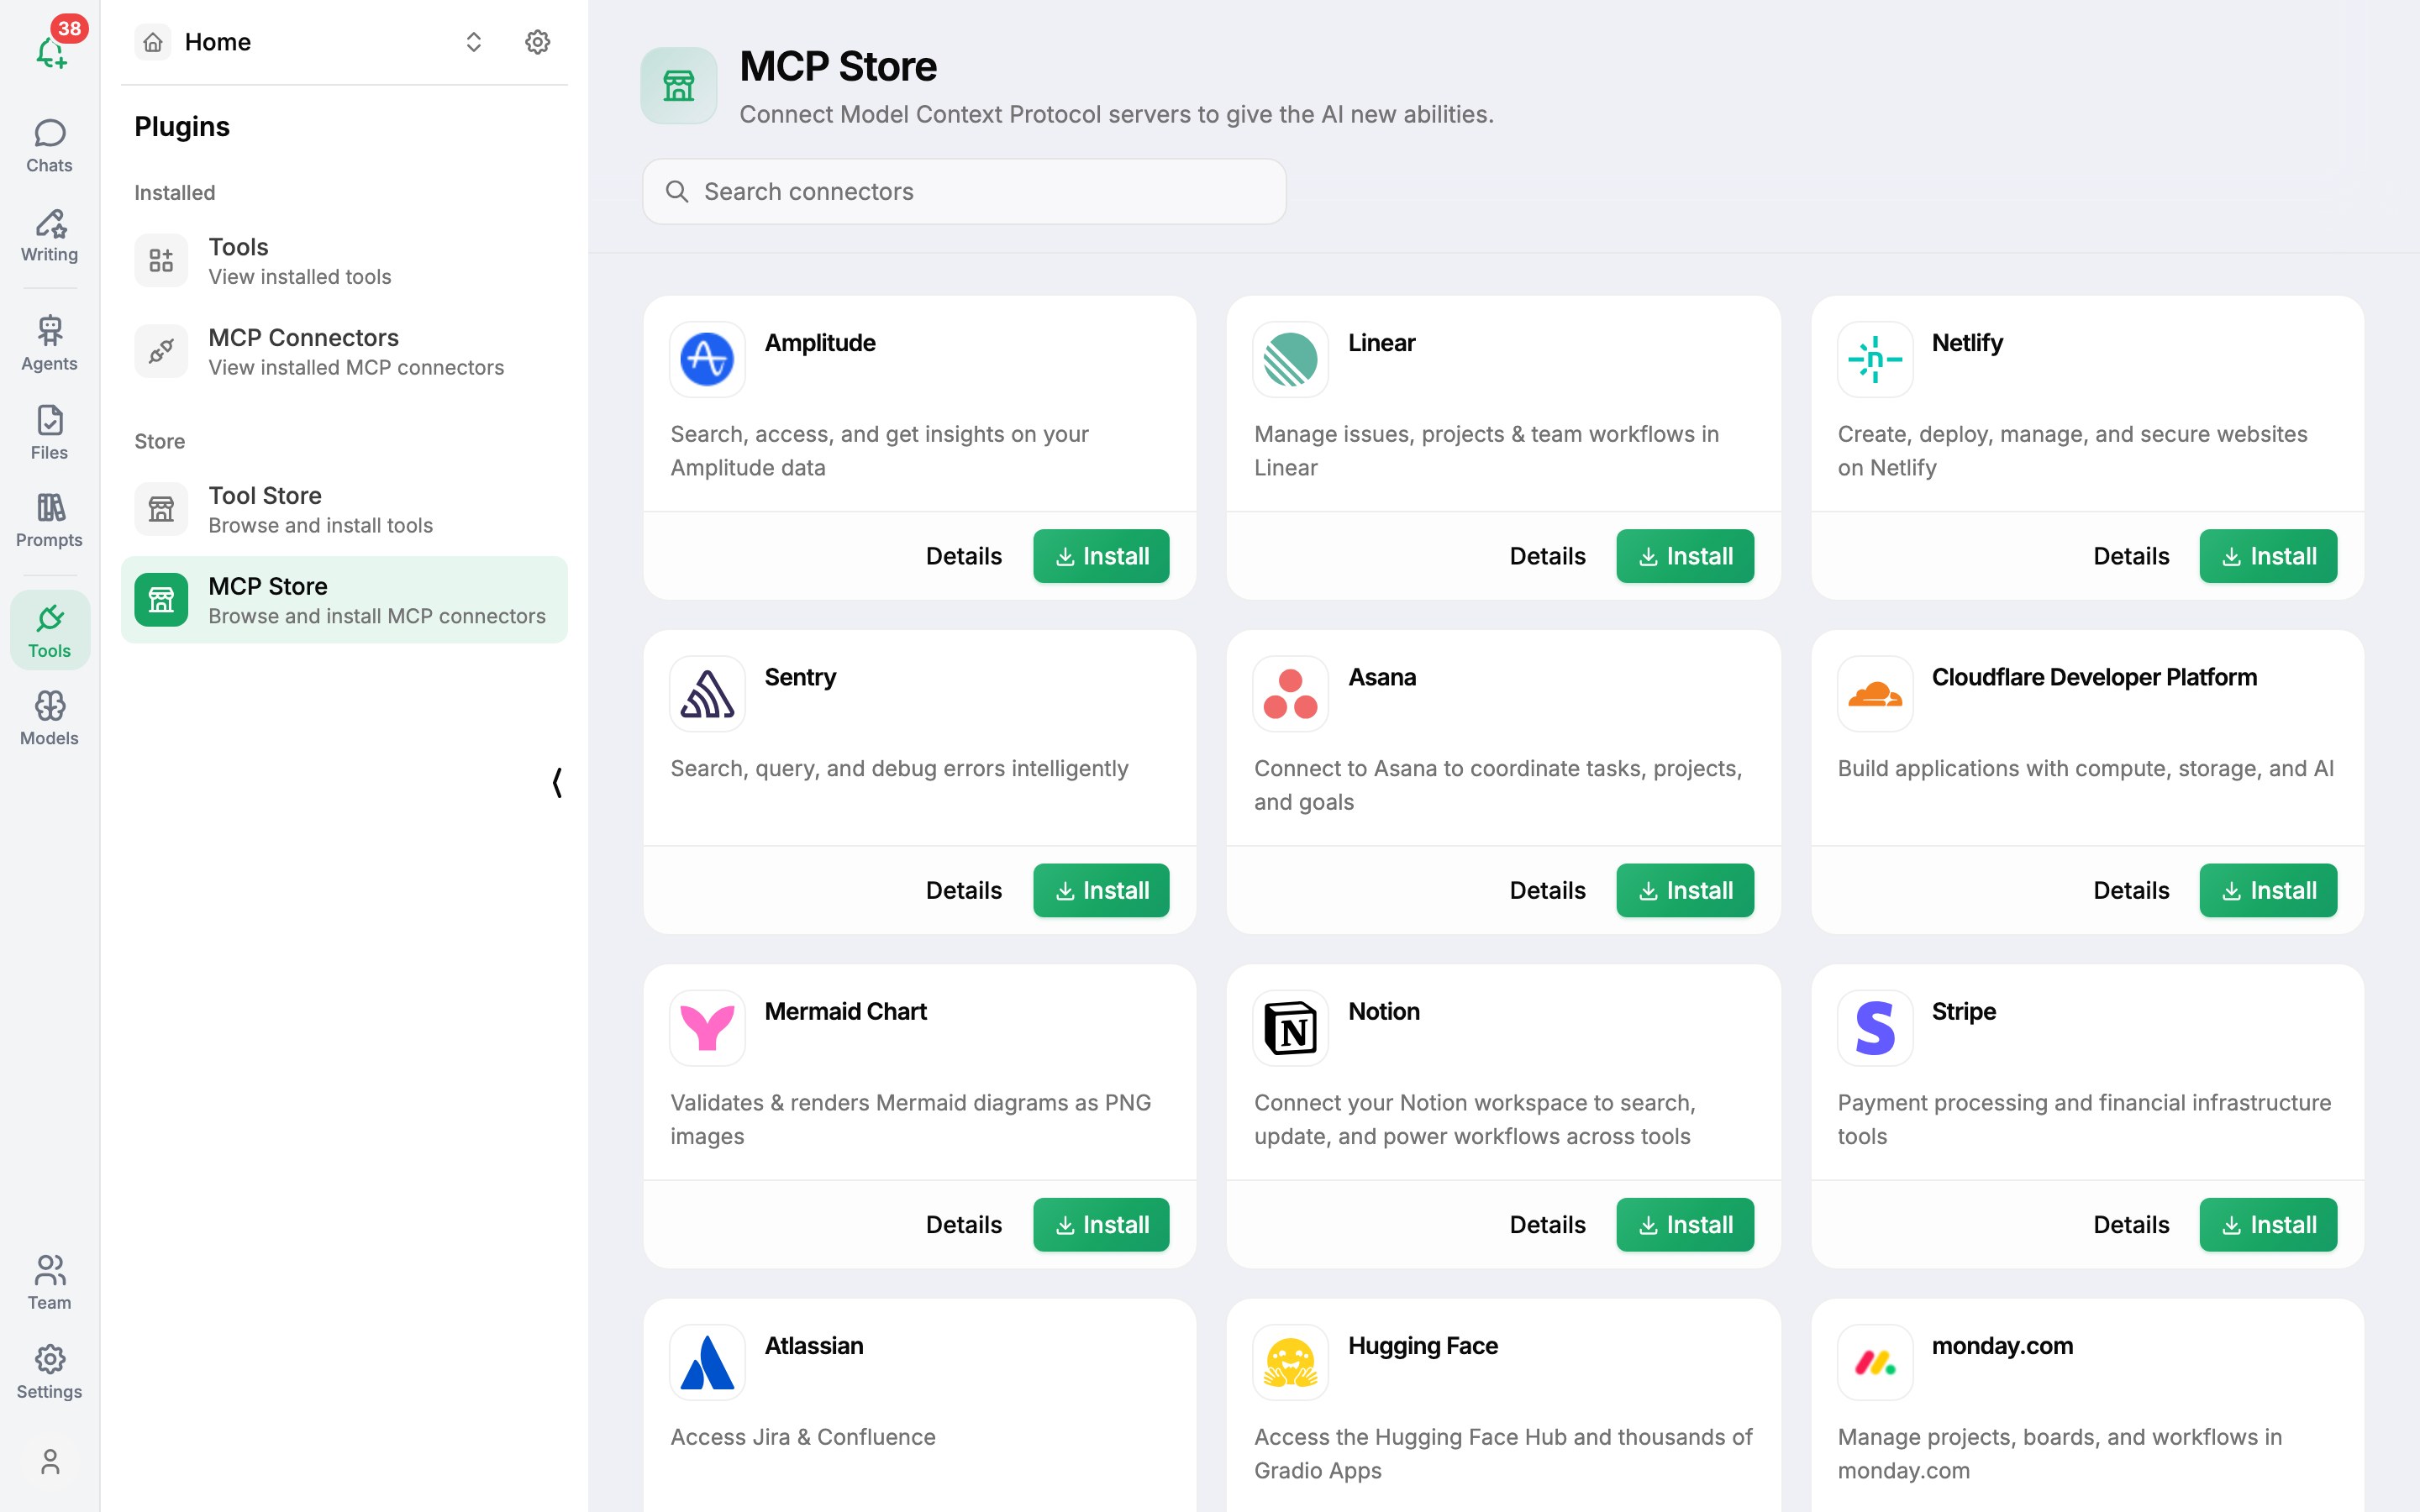
- Open Tools in the left icon bar and go to Store → MCP Connector (the MCP Connectors Store).
- Find the service - use Search MCP Connector to filter.
- Click the info button (ⓘ, Detail) to see what it can do and exactly how it connects.
- Click the download button (Install).
The connector is installed and its settings open straight away, starting with Setup Instructions for that service. You'll also find it later under Tools → Installed → MCP Connector.
Finish setup
Follow the Setup Instructions at the top of the settings. What you do depends on how the service signs in.
Sign in through the browser (OAuth)
For Amplitude, Asana, Canva, Netlify and Notion:
- Click Connect with {service}.
- A window opens on the service's own site. Sign in and approve access.
- You're returned to AI Assistify and the button changes to Reconnect.
Paste a token
For Linear, Cloudflare, Atlassian, monday.com, Intercom and similar:
- Create a personal API key or token in that service's settings - the instructions say where.
- Check Authentication Type - it's preset for the service, usually Bearer Token.
- Paste the token into Auth Config (JSON) as
{"token": "YOUR_KEY"}and click Save.
Two services work a little differently:
- Sentry expects a non-standard header. Set Authentication Type to None, turn on Custom HTTP headers, and enter
{"Authorization": "Sentry-Bearer YOUR_TOKEN"}. - Stripe only accepts a restricted key of the Agent type (Stripe Dashboard → Developers → API keys → Create restricted key). Grant only the permissions you need, set Authentication Type to API Key, and paste it into Auth Config as
{"api_key": "YOUR_AGENT_KEY"}.
Every connector's Detail view in the store shows its exact steps.
No setup
Mermaid Chart and Hugging Face (for public content) work as soon as they're installed.
Test the connection
Click Test connection on the connector. If you see "Connection test failed. Please check the server URL and authentication settings.", re-check the token or sign in again with Reconnect.
Gmail
Google doesn't offer a one-click sign-in for this connector, so it needs two files you create once on your own computer:
- Create a Google Cloud project, enable the Gmail API, and create an OAuth client under APIs & Services → Credentials (the Desktop app type is simplest). Download its JSON file.
- Make a folder called
~/.gmail-mcp/and save the file there asgcp-oauth.keys.json. - With Node.js installed, run:
npx @gongrzhe/server-gmail-autoauth-mcp auth
- Your browser opens to sign in to Gmail and approve access. A
credentials.jsonfile is saved in the same folder. - In the Gmail connector's Configuration, paste both files into Environment Variables as JSON:
{
  "GMAIL_OAUTH_KEYS_JSON": "<contents of gcp-oauth.keys.json>",
  "GMAIL_CREDENTIALS_JSON": "<contents of credentials.json>"
}
Not available yet
PayPal's MCP server uses an expiring client-credentials token that AI Assistify can't refresh yet, so it's listed but can't be connected today.
Was this article helpful?